
Bulk uploading products to WooCommerce is an efficient way to manage large inventories, saving time and reducing manual errors. Whether you’re launching a new store or updating an existing one, there are several tools to streamline the bulk product upload process. The most common method involves using a CSV (Comma-Separated Values) file that contains all product information such as titles, descriptions, prices, categories, images, stock status, and more. One of the most powerful ways to upload WooCommerce Products CSV with ACF fields is by using CSV Importer Plus for ACF, which automatically maps the fields and uploads them into your store—making the process faster and more accurate than the built-in WooCommerce import tool.
To get started with bulk uploading, you’ll first need to create a well-structured CSV file. CSV Importer Plus for ACF provides sample files for both the free and pro versions — download the appropriate sample file to understand the required formatting and fields.
Each row in the CSV file represents a single product or variation, while columns represent product attributes. For stores with variable products (such as different sizes or colors), it’s important to include parent/child relationships and variation-specific data.
Once your CSV file is ready, go to CSV Importer Plus for ACF > Select Post Type (choose “Product” or “Simple Product” if you’re using the free version). Set the chunk size, then click “Next” to proceed to the field mapping section.
For WooCommerce Fields CSV column names will be:
product_type, product_virtual, product_downloadable, product_sku, product_barcode, product_name, product_published, product_visibility, product_date, product_short_description, product_description, product_sale_date_price_start, product_sale_date_price_end, product_tax_status, product_tax_class, product_stock_status, product_manage_stock, product_stock, product_allow_backorders, product_low_stock_amount, product_sold_individually, product_weight, product_length, product_width, product_height, product_enable_reviews, product_purchase_note, product_sale_price, product_regular_price, product_cat, product_tag, product_shipping_class, product_image, product_image_gallery, product_parent, product_grouped, product_external_url, product_external_button_text, product_upsell_ids, product_crosssell_ids, product_position, product_wpcom_is_markdown, product_download_file_name, product_download_file_url, product_download_limit, product_download_expiry, product_brand, product_attribute
For ‘product_attribute’ in your CSV, data can be formatted in below ways:
- Color: Blue, Red, Pink
- Color: Blue, Red, Pink; Size: Small, Medium, Large; Blood Type: A, B, AB+, O
- Color!: Blue, Red, Pink; Size: Small, Medium, Large;
Note: Separate different attributes with a ; (semicolon). Separate multiple values for a single attribute with a , (comma). By default, an attribute is set to be visible and global. You can modify this behavior with special symbols:
- To make an attribute not visible, add an asterisk *.
Example:Size*: Small, Medium, Large; - To make an attribute non-global, add an exclamation mark !.
Example:Blood Type!: A, B, AB+, O; - To generate variations from an attribute, add a caret ^.
Example:color^: Red, Blue; - You can combine these symbols to apply multiple settings.
Example:Blood Type*!^: A, B, AB+, Omakes the attribute non-visible, non-global, and used for variations.
Upload your WooCommerce Products CSV with ACF fields in one step
For Acf Fields: Use acf field name. Please check the screenshot. You can import all ACF fields to your products by using the correct ACF field names as column headers in your CSV file. Visit this page for complete video tutorials on how to bulk import ACF fields.

If your CSV columns are correctly named, the plugin will automatically map them to the appropriate fields. Carefully review each mapped field. If any are missing or incorrect, compare your file with the sample and make the necessary corrections.
When all fields are correctly mapped, click “Import Data” to begin the upload. The progress bar updates after each chunk is imported. By default, the chunk size is set to 10, so the progress bar will update after every 10 products are imported.
At the end of the process, you’ll see a success message showing how many products were imported. If there are any issues, the plugin will display a log of errors.
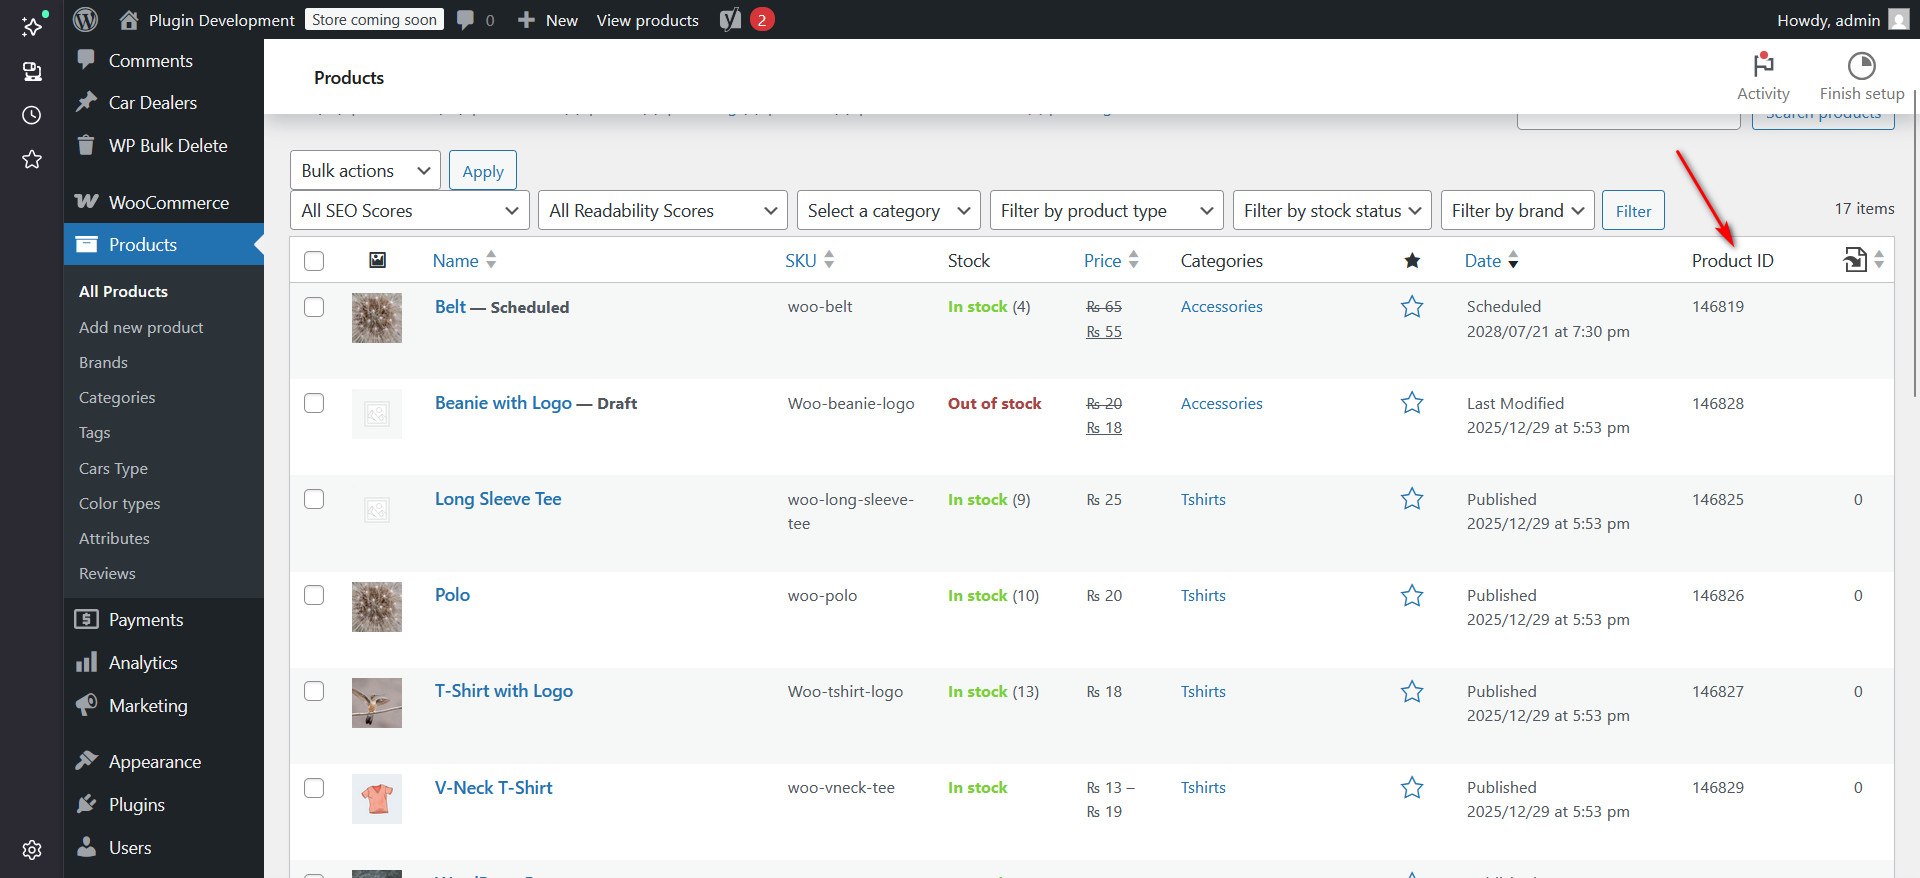
To update existing products, include a “product_id” or “product_sku” column in your CSV along with the fields you want to update. You can find the product and variation IDs in product page and product id from Product ID column from products table. Refer to the screenshots provided for guidance on locating these IDs.


Once your update file is ready, upload it to CSV Importer Plus for ACF, and make sure to check the “Update” checkbox. Click “Next,” verify that all fields are mapped correctly (refer to the sample file if needed), and then click “Import Data.” Your products and variations will be updated accordingly.
How Can I Import ACF Data To Existing Products